I built a table 💪
My wife and I were lucky to acquire some beautiful old wood from a demolished barn in the family. We needed a proper dining room table, so my wife asked if I could build one and, without realising the scale of the undertaking, I said "hell yuh!" Around a hundred hours and a lot of sweat later, I produced a table and bench combo!
With no fine-furniture experience, not much woodworking experience either, imperial measuring tapes, and hours of trial and error, I finally built some furniture I'm proud of! Here's to many years of use 🍻
~$140 for hairpin legs
~$250 on tools such as planer + spare blade, sander, rasp, clamps, etc.
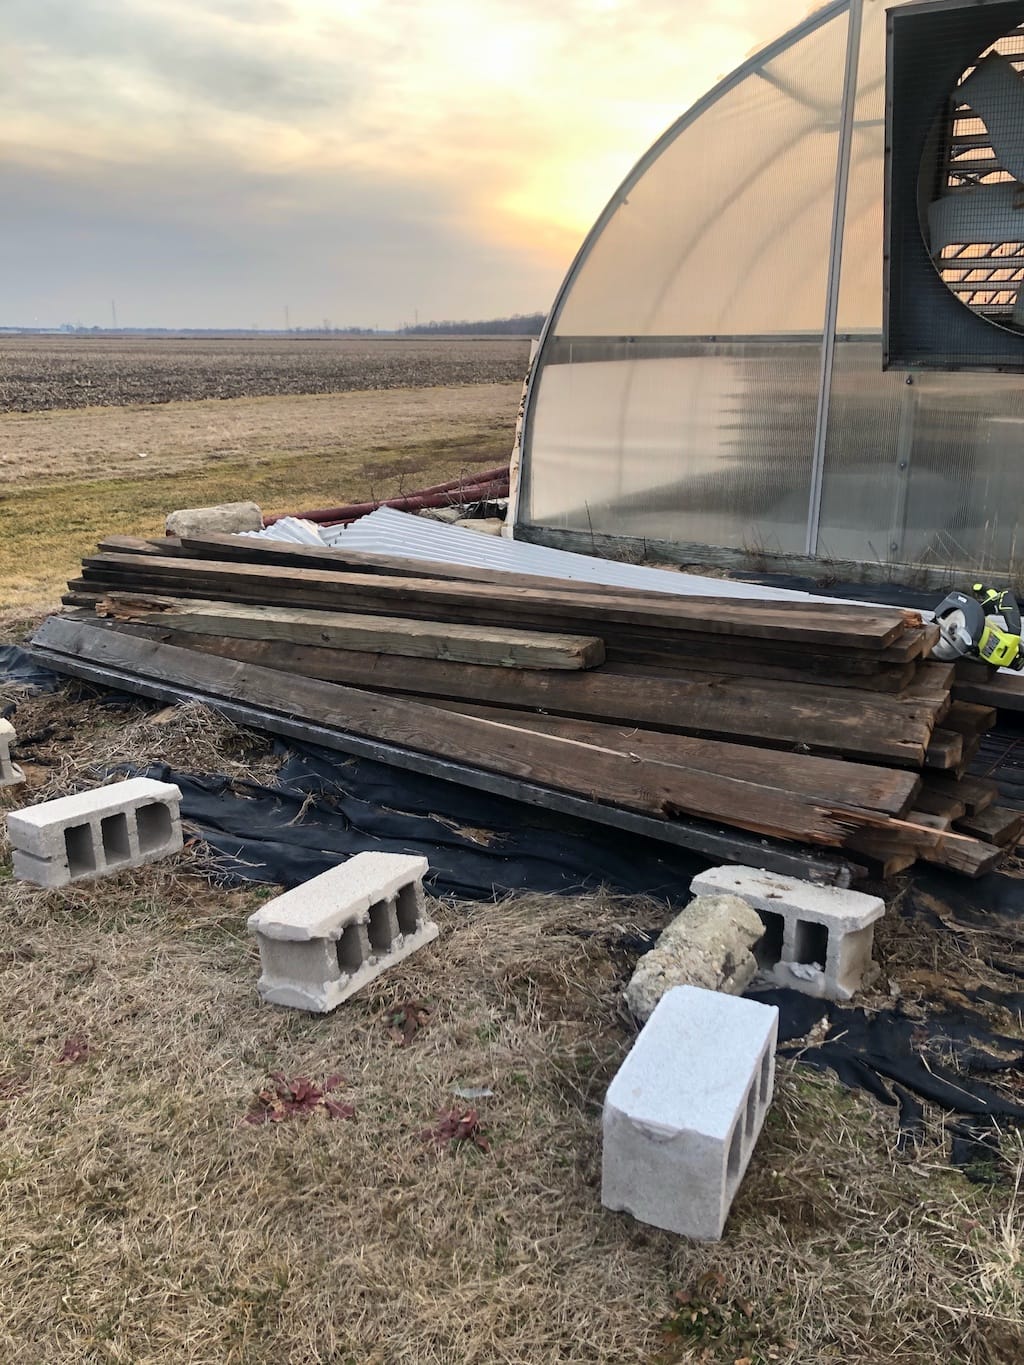
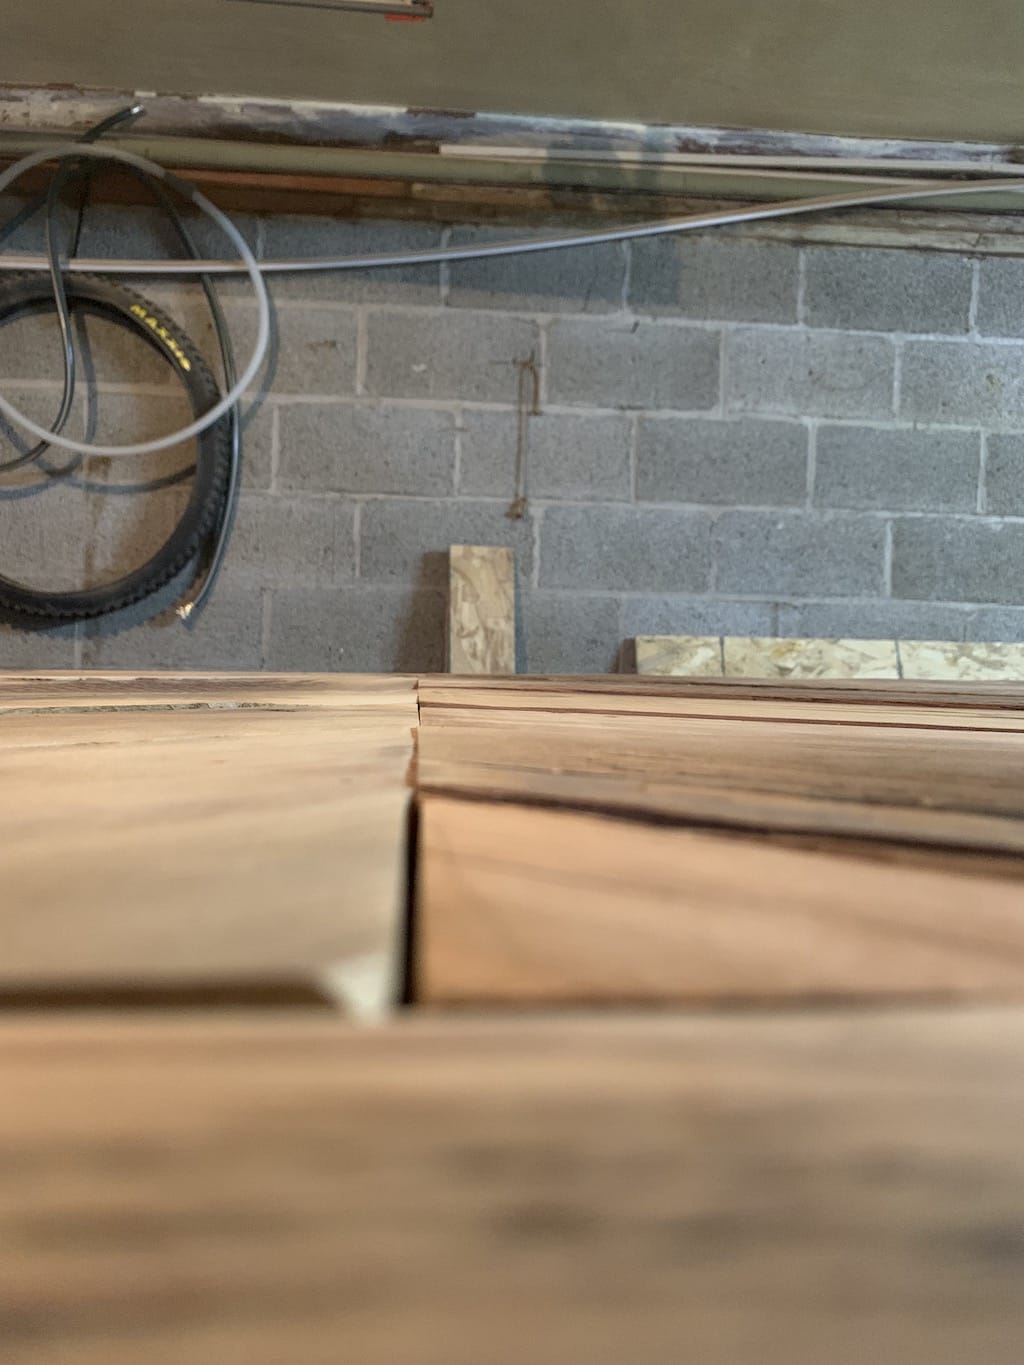
Demolished barn = beautiful wood for a table.
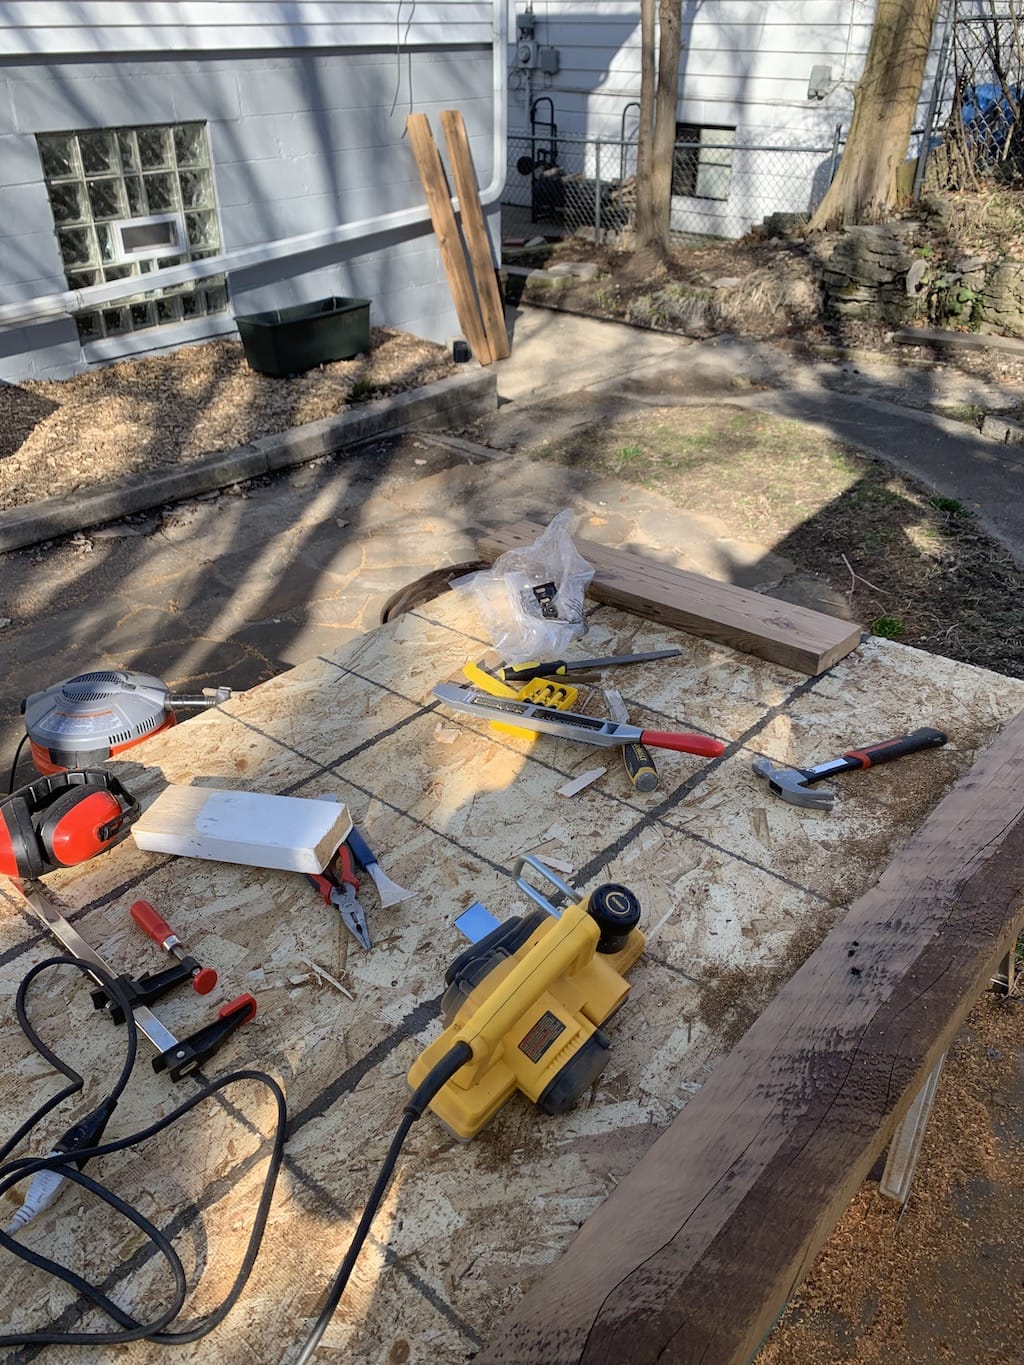
It's at about this time I realise I have no idea what I am doing.
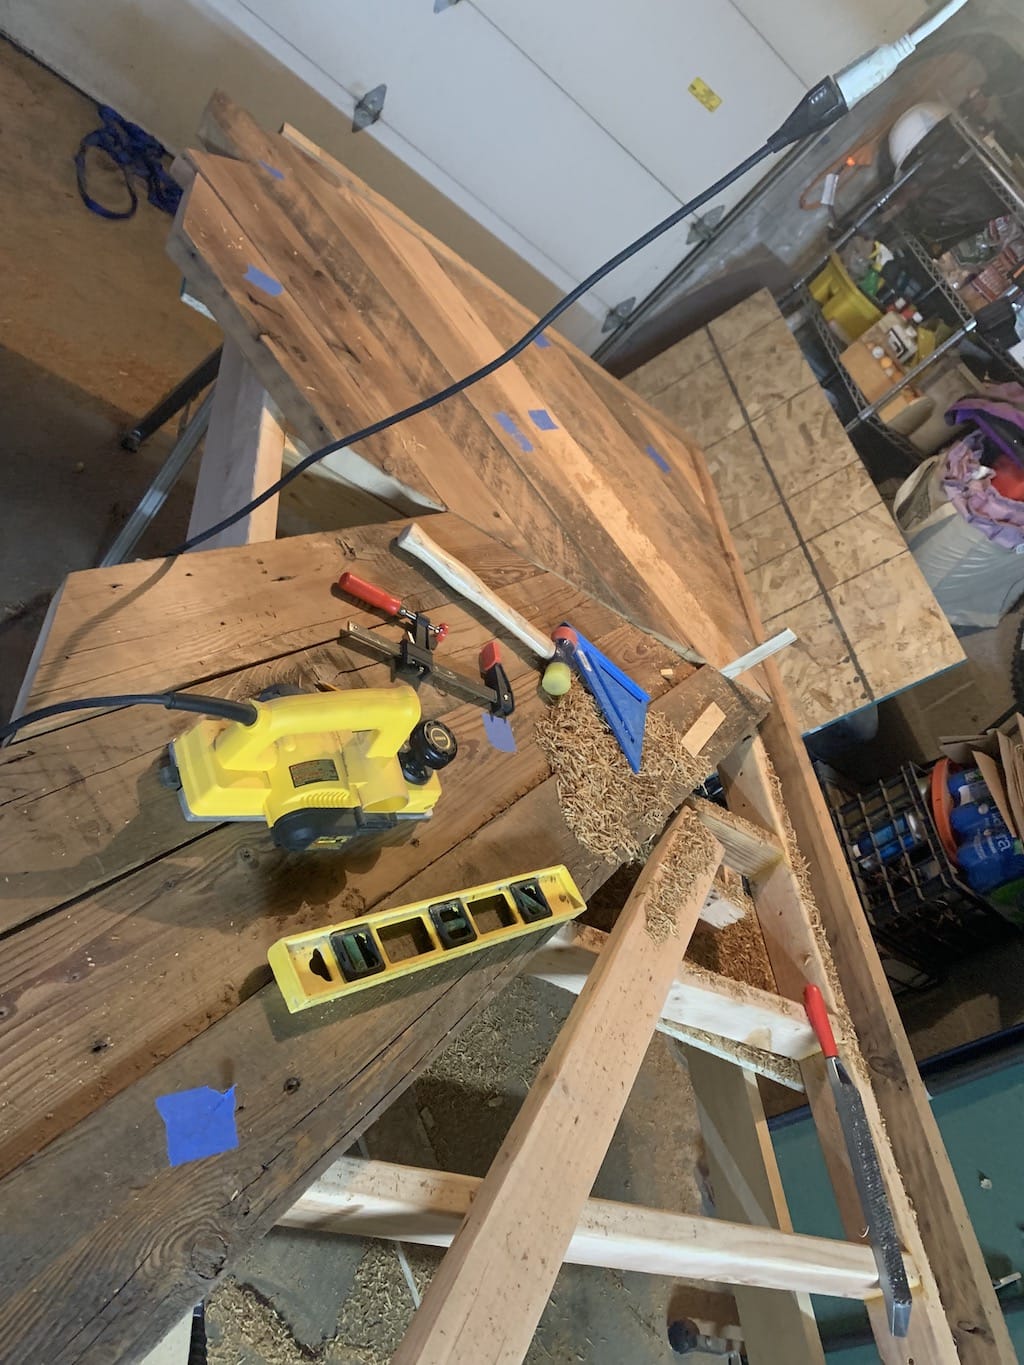
I first started by planing the pieces outside to remove the really rough/sharp pieces to make the pieces more workable. I started with the lowest plane setting as to not take off too much patina.
Some piece had nails, some did but were the best fit. I sorted to make them fit the best I could, shortened certain pieces, then cut the ends of at 45°.
After having cut the ends, I was able to make the chevron pattern pretty easy on the floor to get a rough idea on dimensions.

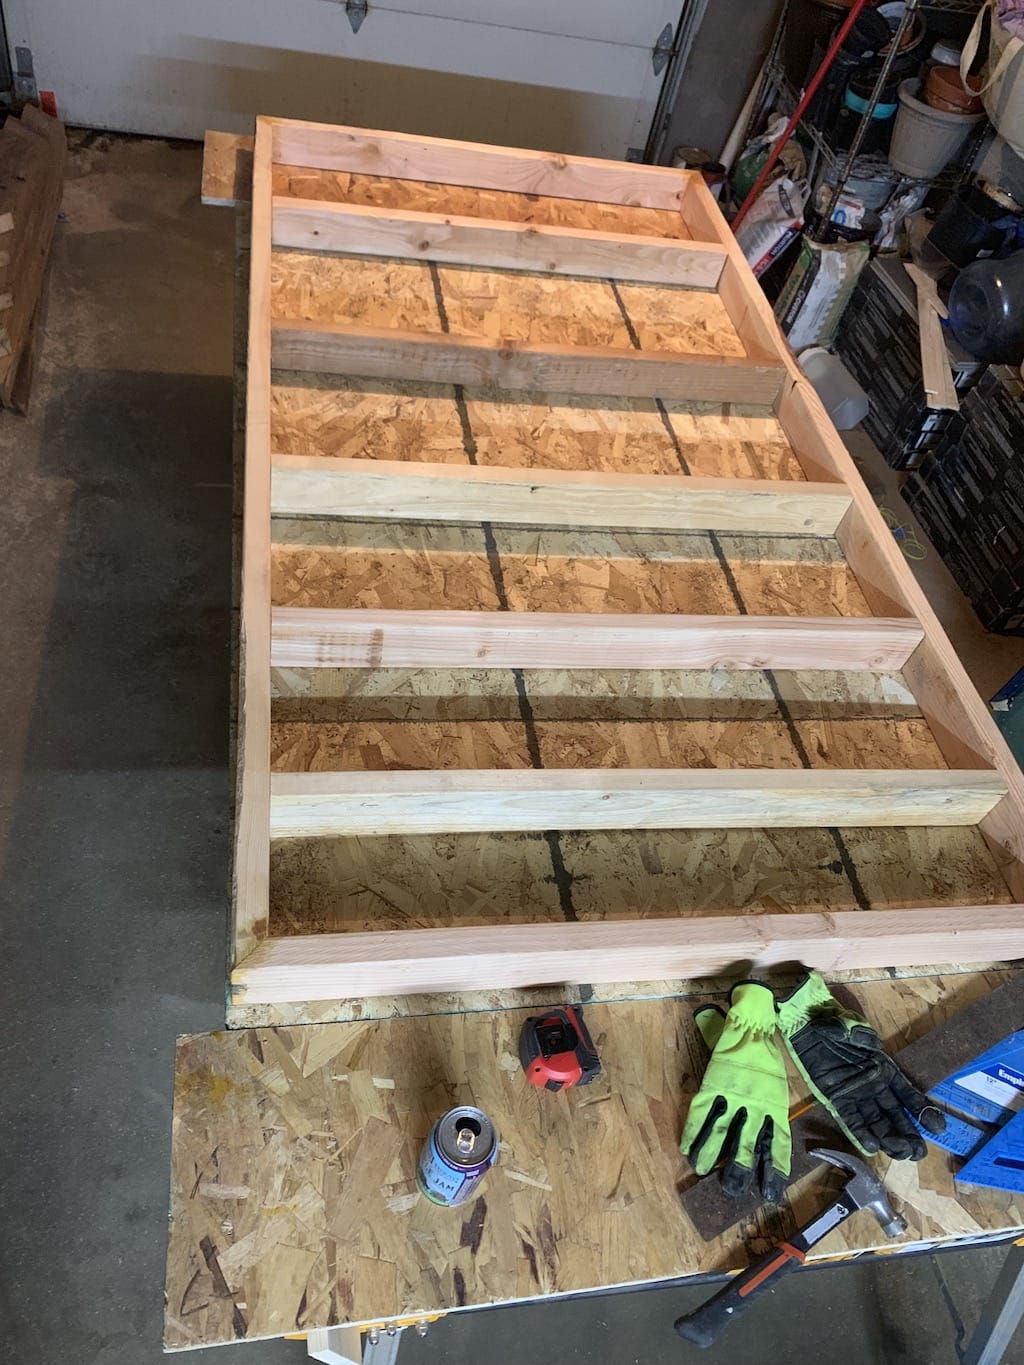
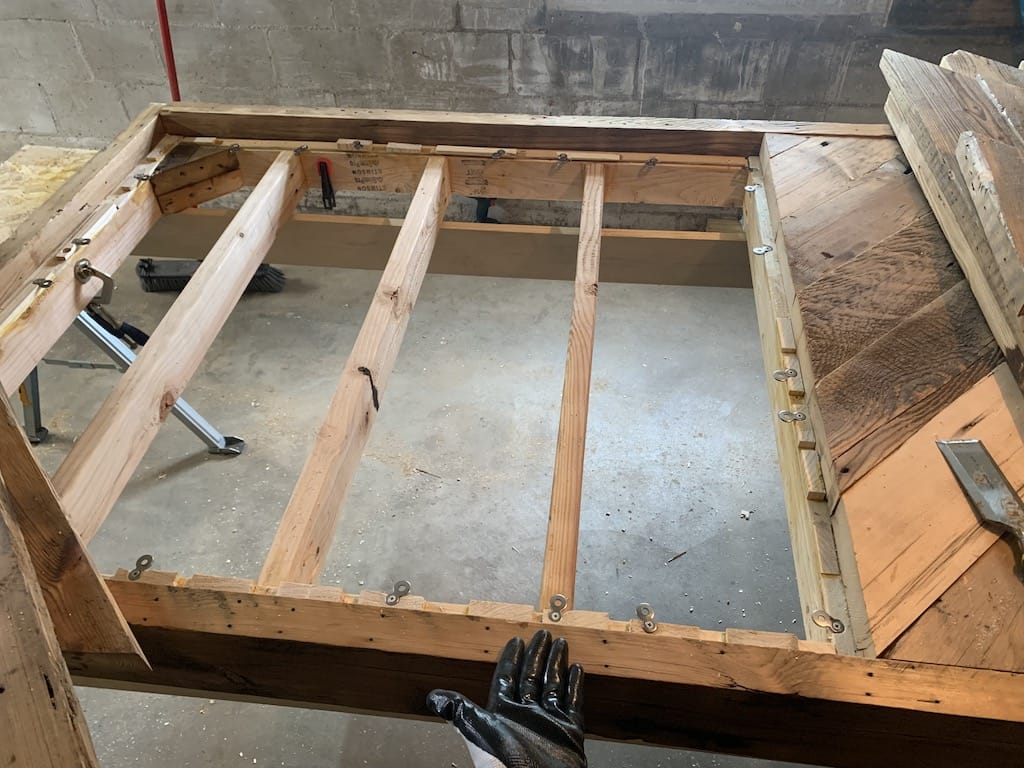
After a lot of back and forth, I decided to use 2x4s for the frame, joining the outer pieces together in 45° with 5 pieces strategically placed at different distances to account for the off-center chevron pattern.
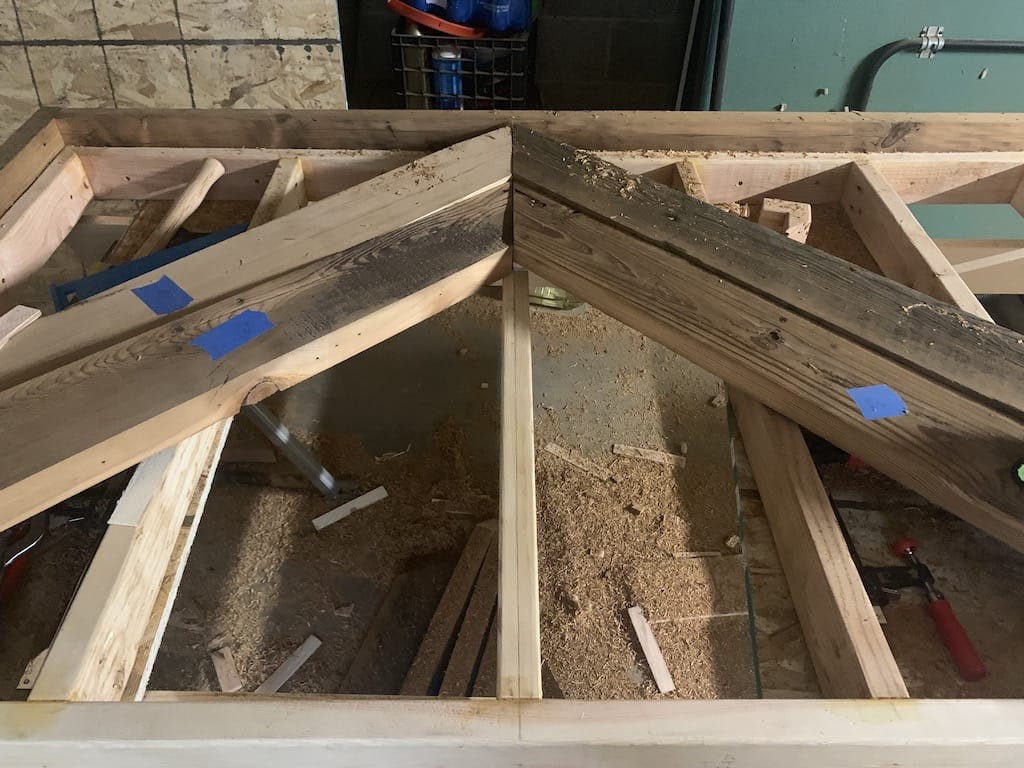
With the frame assembled and two sides attached, I then moved on to assembling the chevron patter on the frame. Each piece of wood was different length, width, depth, so I strategically placed equal-ish sized planks together on both parts of the chevron.
Continued placing equal-ish sized planks together on both parts of the chevron, planing pieces to make them more equal.
All top pieces placed, with the two side pieces clamped in place.
With the top pieces cut and placed, I moved on to securing them. Some pieces although formed a perfect 90° angle, the pieces were uneven/wonky, and when flattened/ing, would skew the perfect 90° angle, to overcome this, I cut and shimmed pieces of wood to make chevron pieces equal(er) & flat(ter). With movement in mind, I used figure-8 fasteners to attach the top pieces to the frame to allow to breathe.
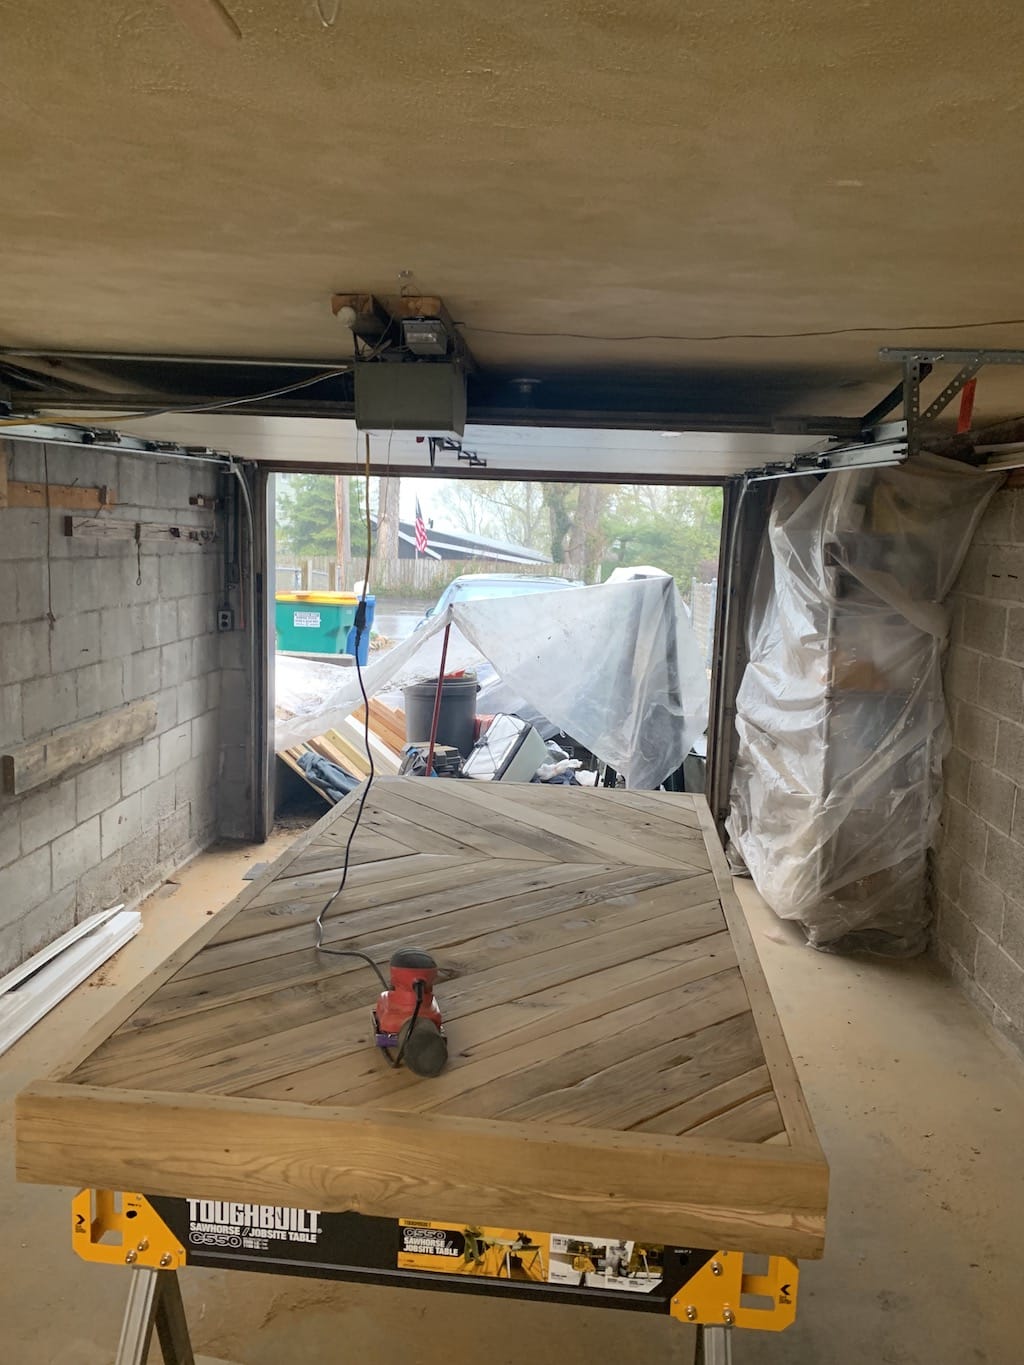
With the table assembled and secured in place, I then began to sand the table with a 80, 120, 200, & 400 grit sand paper.
…lesson learnt: rain + fine saw dust isn't fun.
This was during the peak of the pandemic, and there were no N95 masks. I used the same one for the entire project.
I spent time over-sanding particular pieces to make them more equal with pieces on either side, or opposite in the chevron.
I didn't want it to be perfect, just as smooth as it could be.
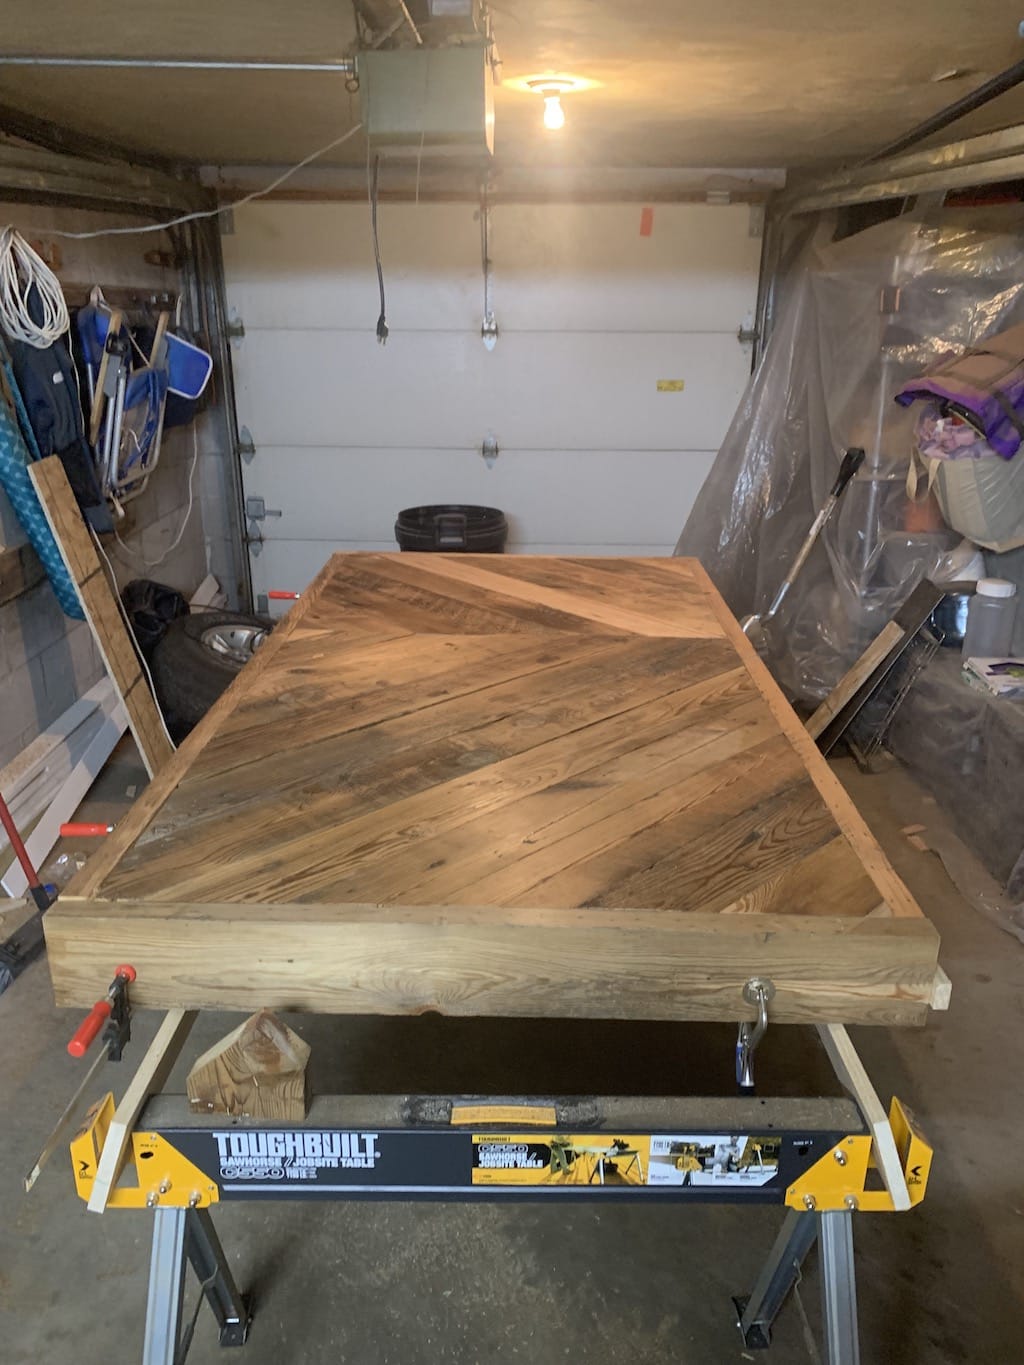
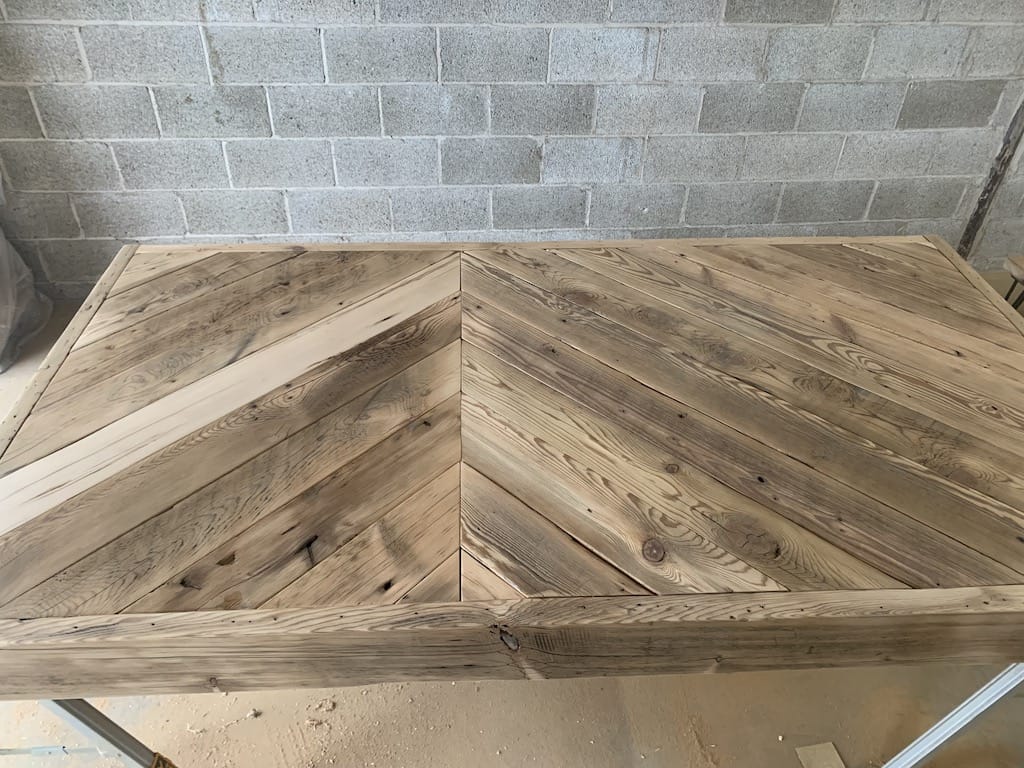
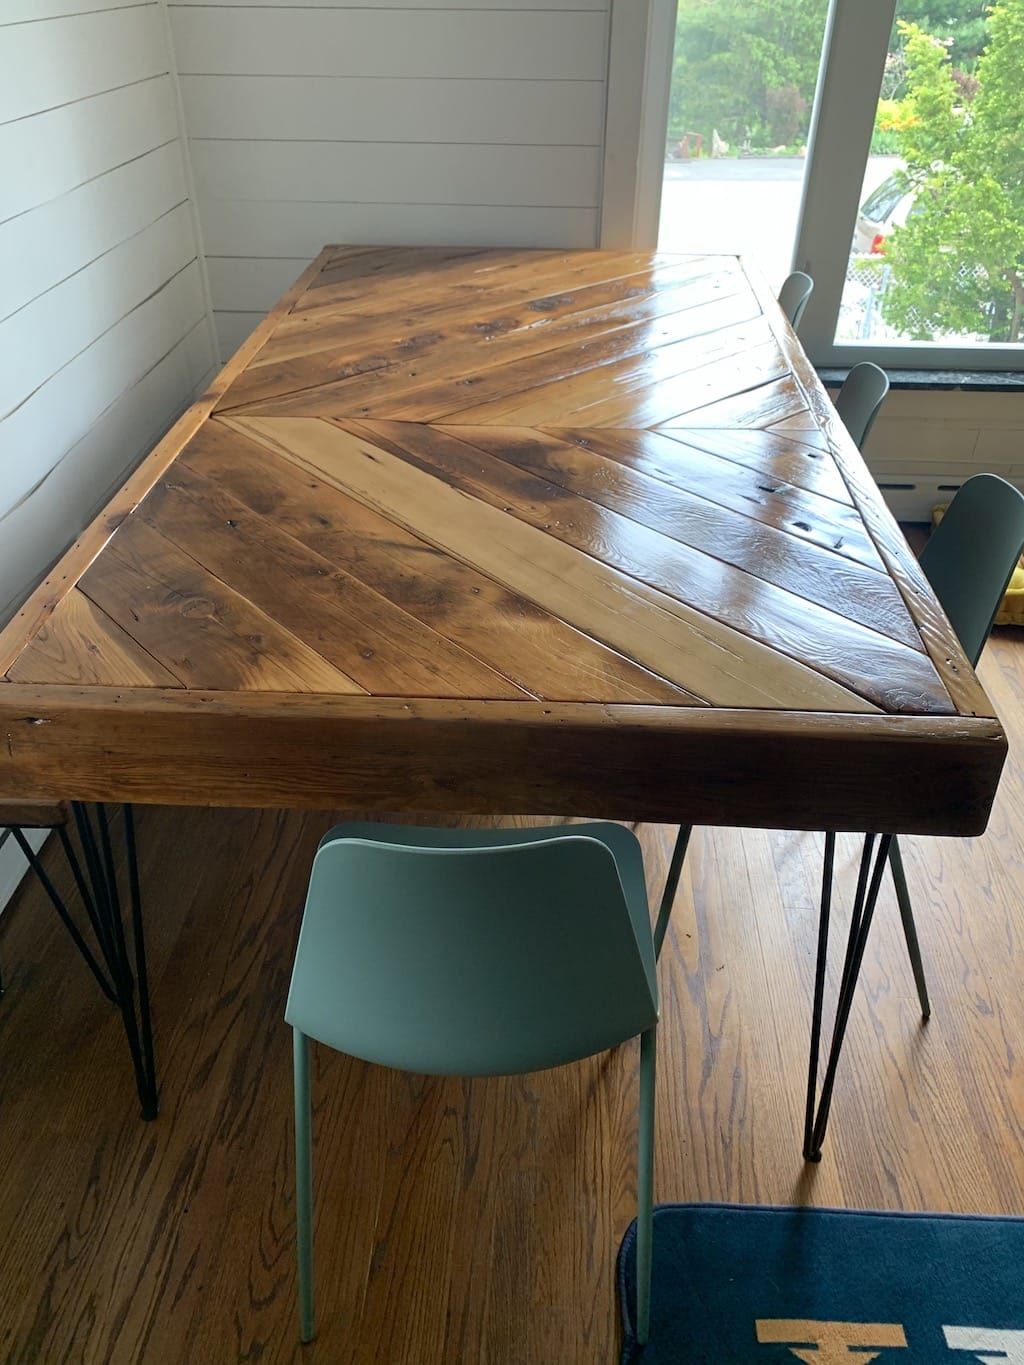
Fully assembled & sanded!
Isn't she a beaut?
Time to finish!
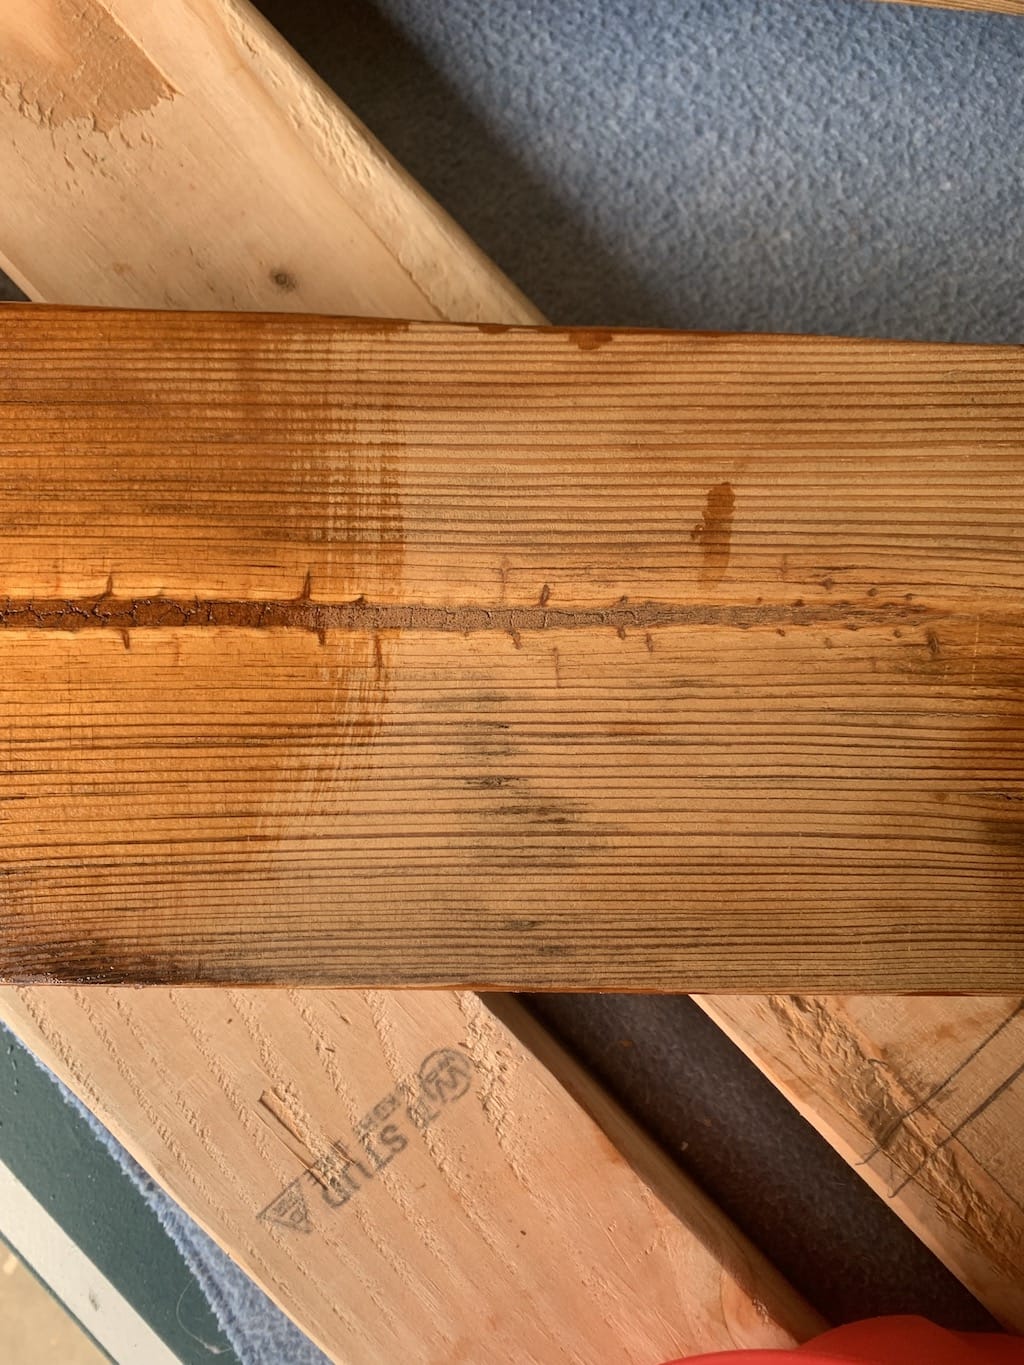
The first few strokes of semi-gloss oil polyurethane, who needs stain?
After the first full coat of oil polyurethane.
Following this guide, I applied 4 coats total, sanding in between each coat.
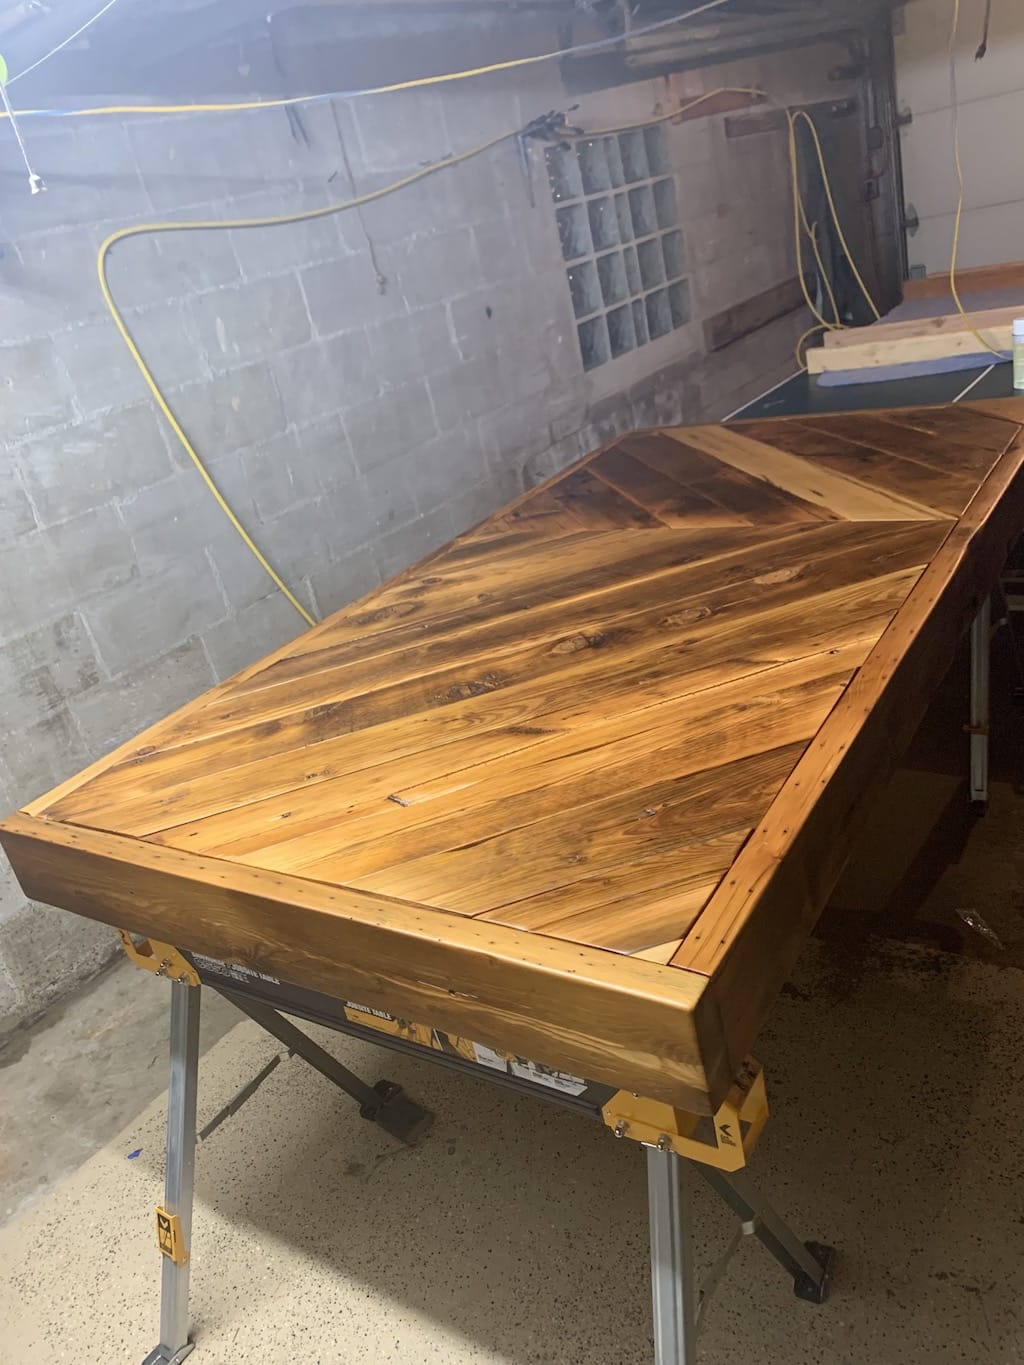
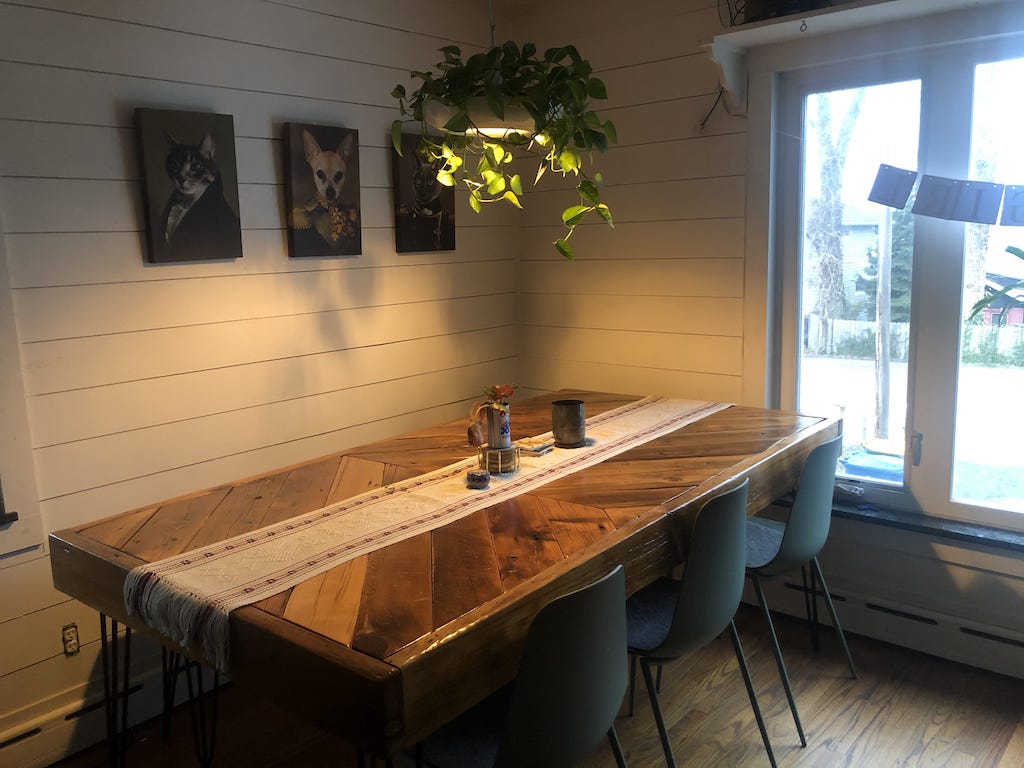
In all its glory!
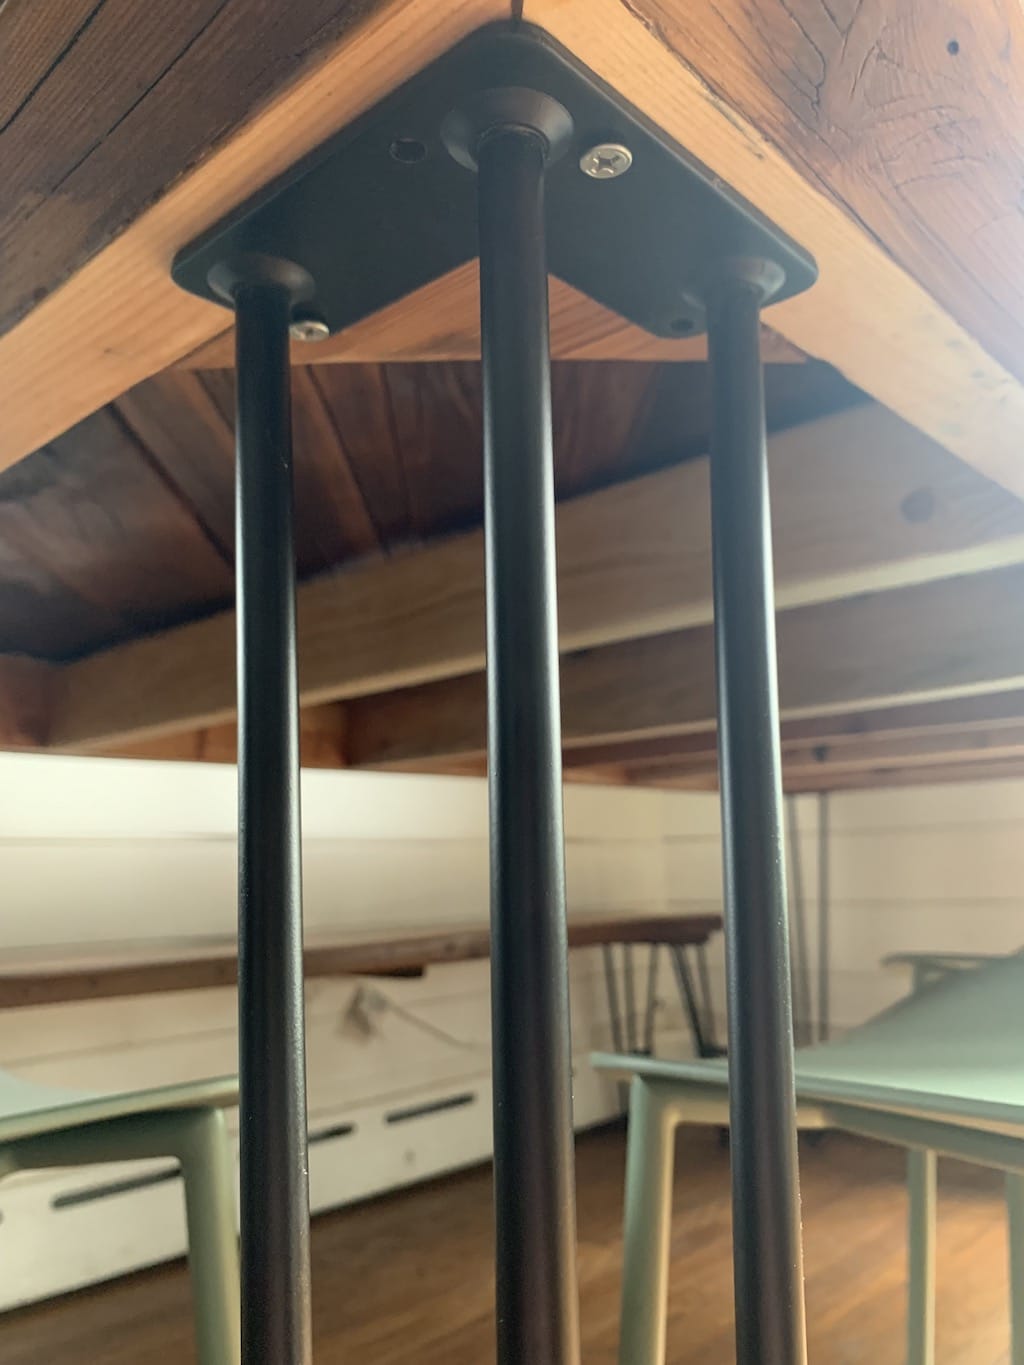
Leg assembly (missing some screws).
A after a few days
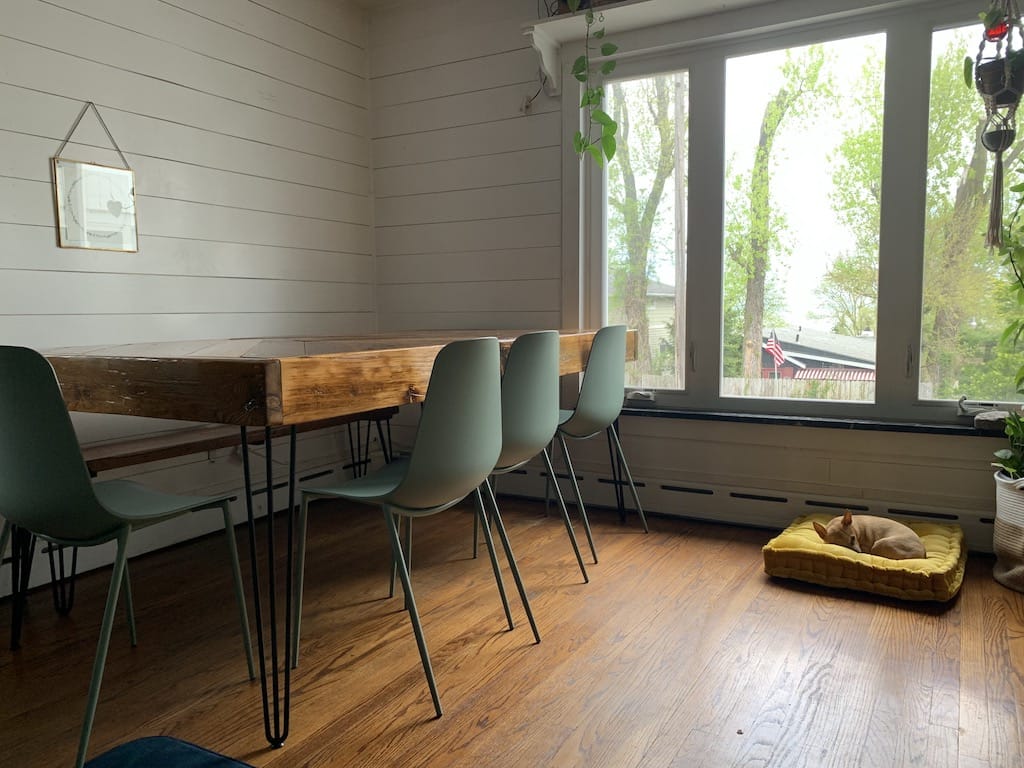
A few months on, still looking beautiful!
Lessons Learnt:
- If I wasn't a software developer, I would probably be a woodworker.
- Plan, Plan, Plan! More MTCO (Measure Thrice, Cut Once), less YOLO (You Only Leveled Once).
- Have a clear workspace! I wish I had clear/ned my garage out completely sooner.
- Check the weather! Rain/Wind + sawdust isn't fun.
- It doesn't have to be perfect/it's ok to shim, just make sure it's secured with enough glue, nails, screws :D